Posted on
Updated on
December 17, 2025
Requirements:
- MacOS: Supported Versions
- PEAS Enrollment. Verify you are enrolled in PEAS if you have Self Service installed in your Applications folder. Review KB0018617 to enroll in PEAS.
- Access provisioned to Cisco Jabber service. Contact the Service Desk if you need to be provisioned to use Cisco Jabber.
- Jabber does not require VPN access unless you are a call center agent using Finesse
New Installation or Upgrade:
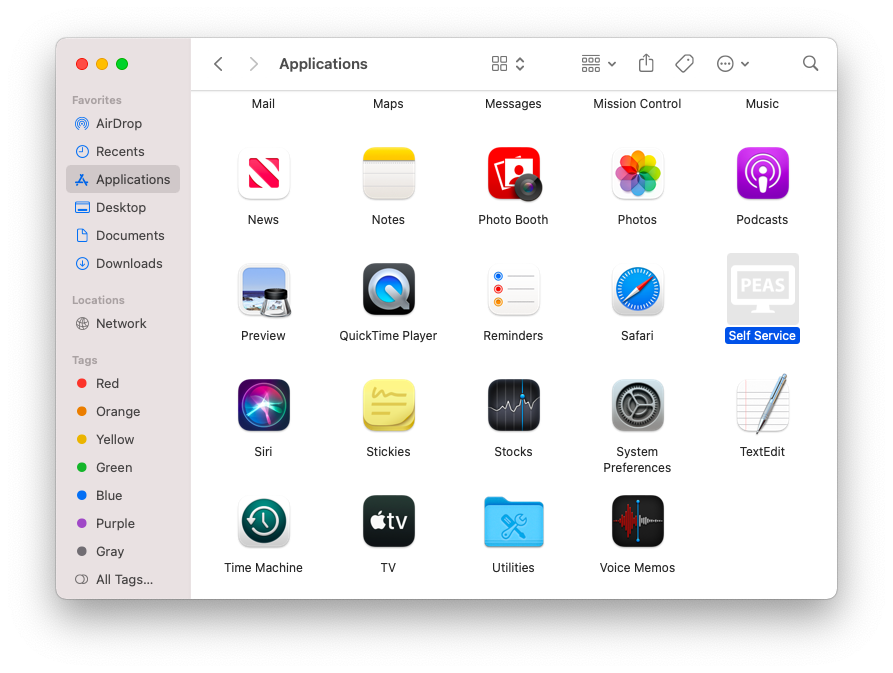
- Launch PEAS Self Service from your Applications folder:
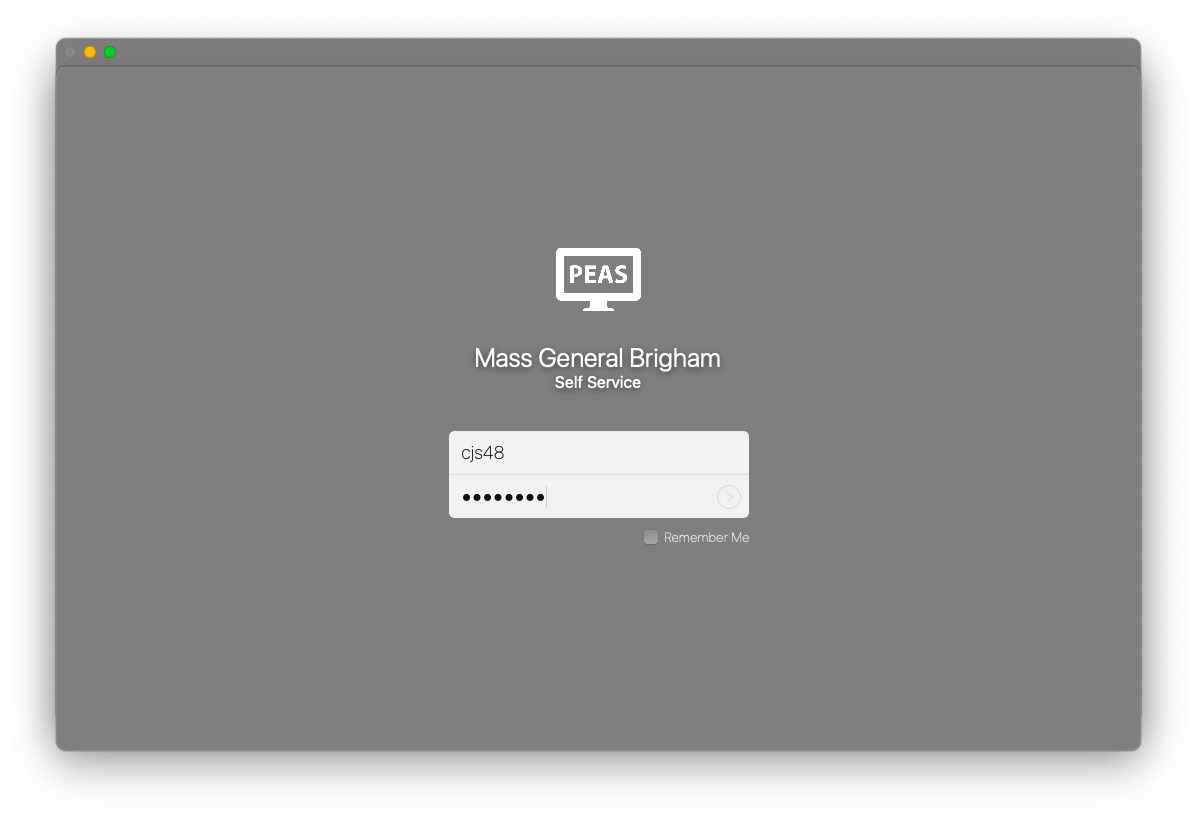
- Login with your Mass General Brigham credentials:
- Click Install under the Cisco Jabber icon to install new or Reinstall if you have a prior version and need to upgrade:
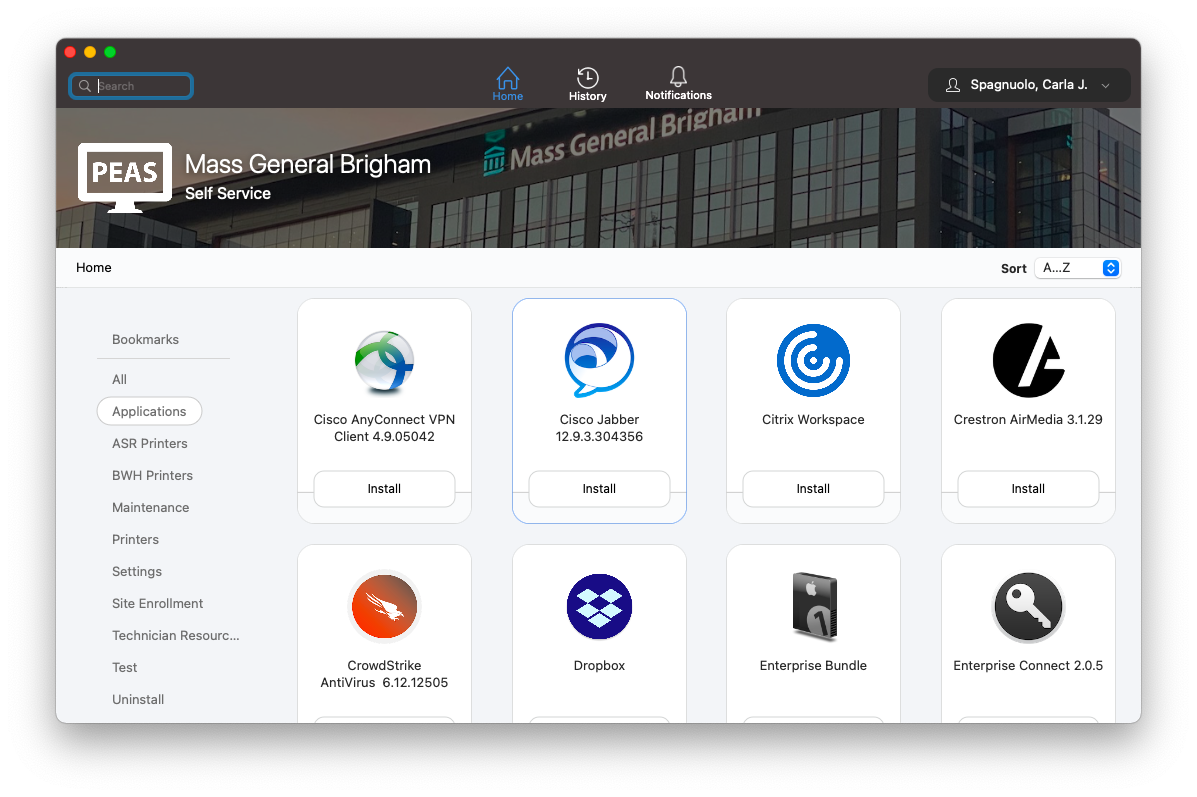
- Self Service will display Executing, Running and then Reinstall once complete.
- Launch Cisco Jabber from your Applications folder:
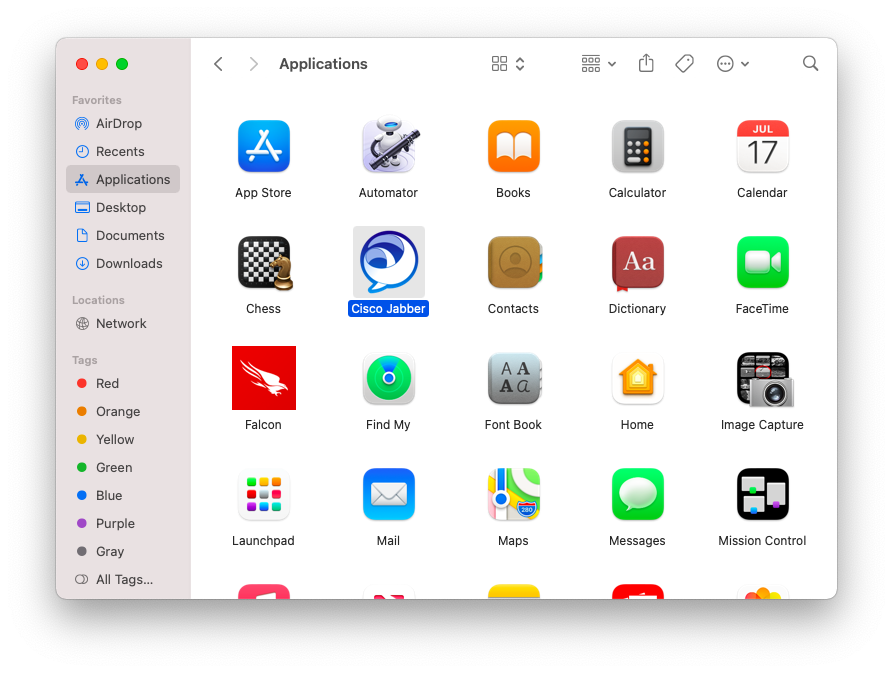
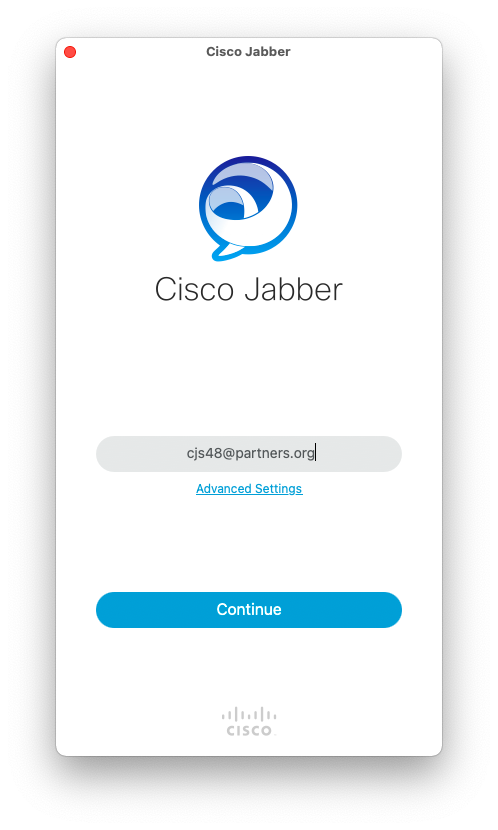
- Enter your Mass General Brigham User ID @ partners.org and click continue:
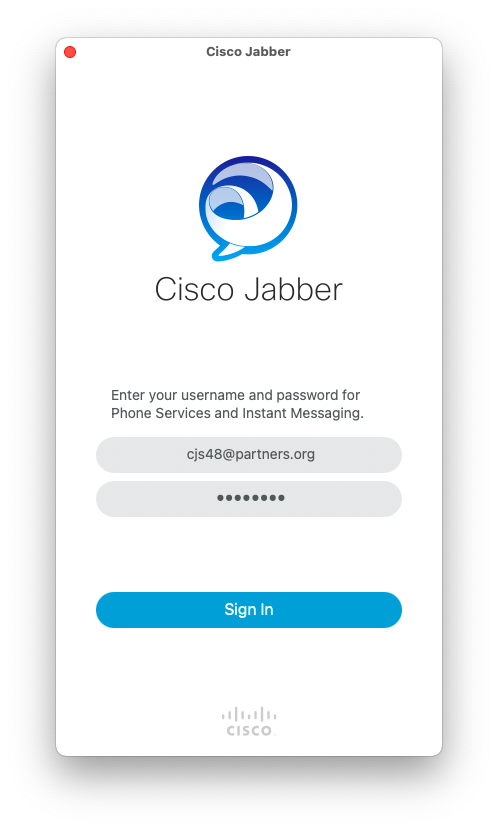
- Enter your Mass General Brigham password and then click Sign In:
- Upon the first launch of Cisco Jabber you will be prompted to allow Jabber to record your screen if you wish. Click OK to provision access to Screen Recording:
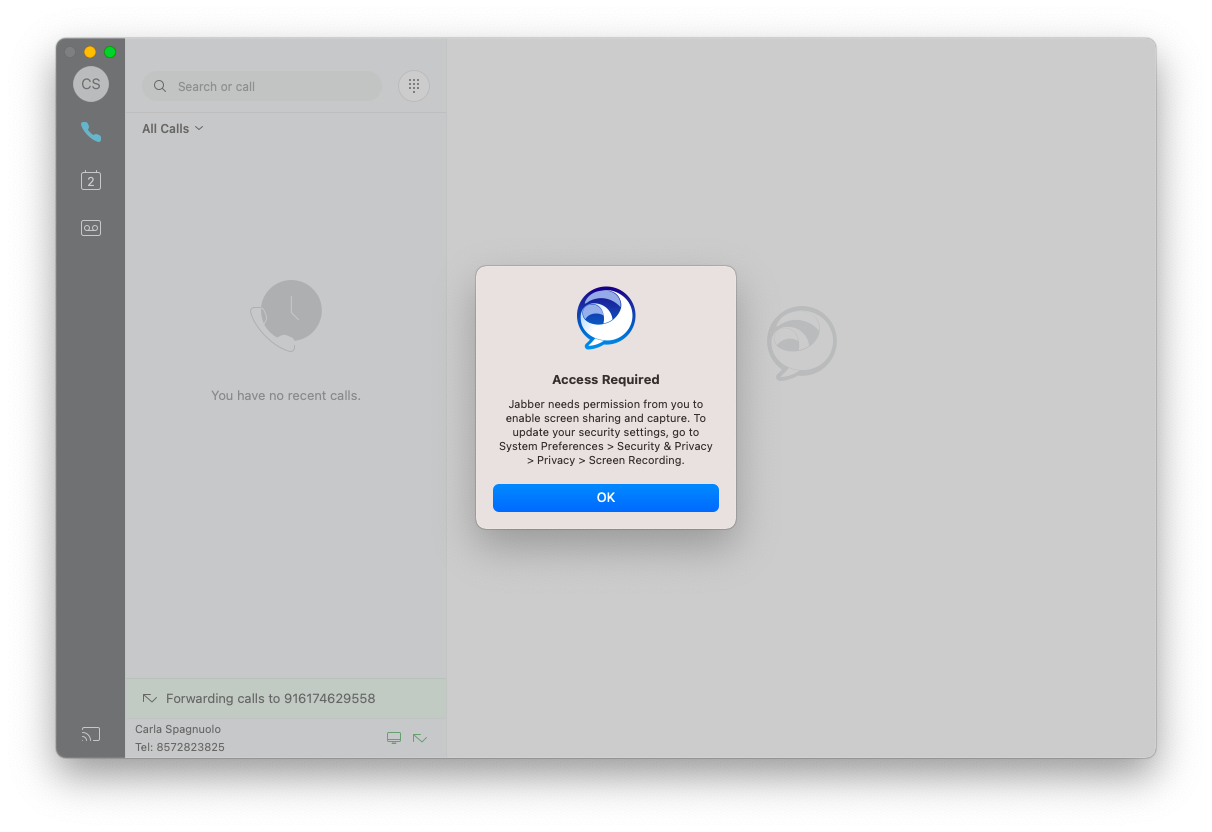
- You will be prompted to allow Cisco Jabber to record your screen, click Open System Preferences:
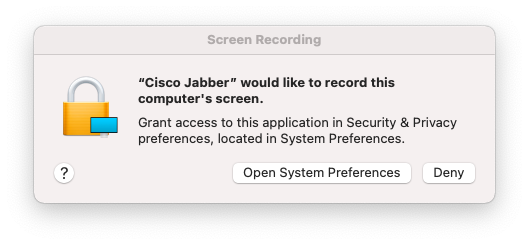
- Click the lock in the botton left corner to make changes and authenticate with your Mac's administrator credentials:
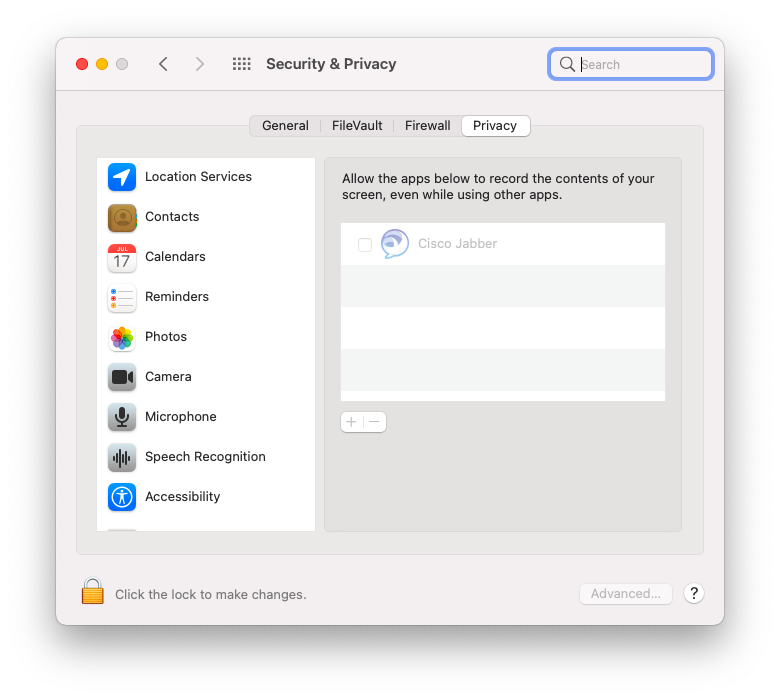
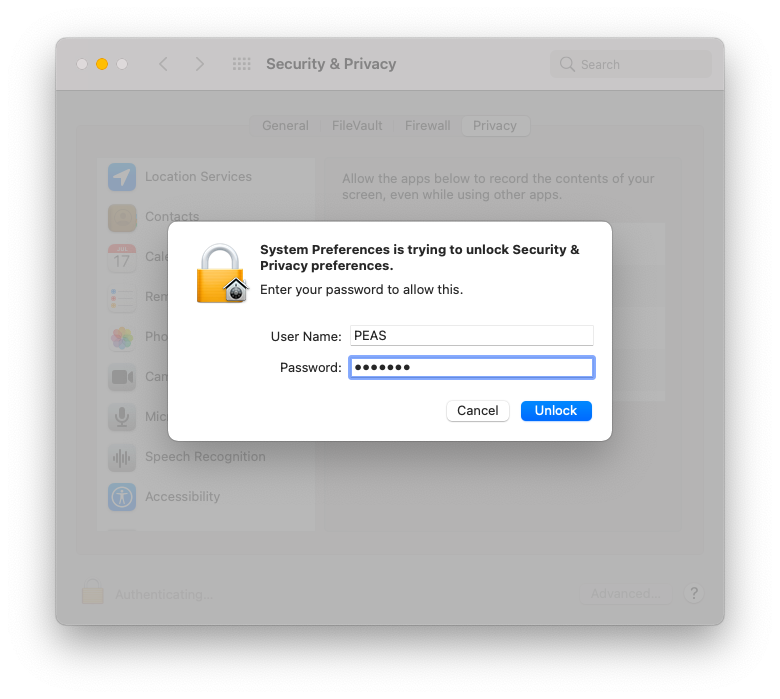
- Click the check box next to Cisco Jabber and you will be prompted to Quit & Reopen Cisco Jabber to complete the configuration.
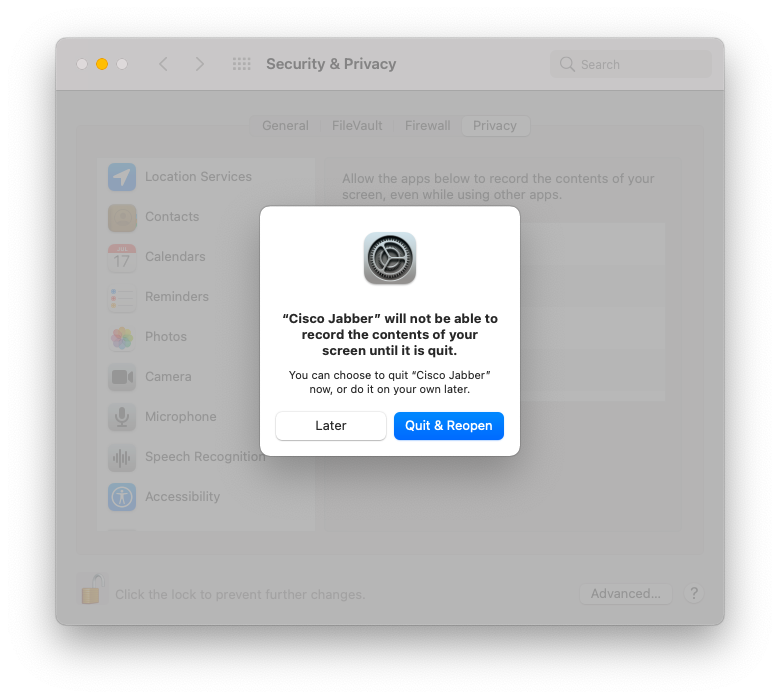
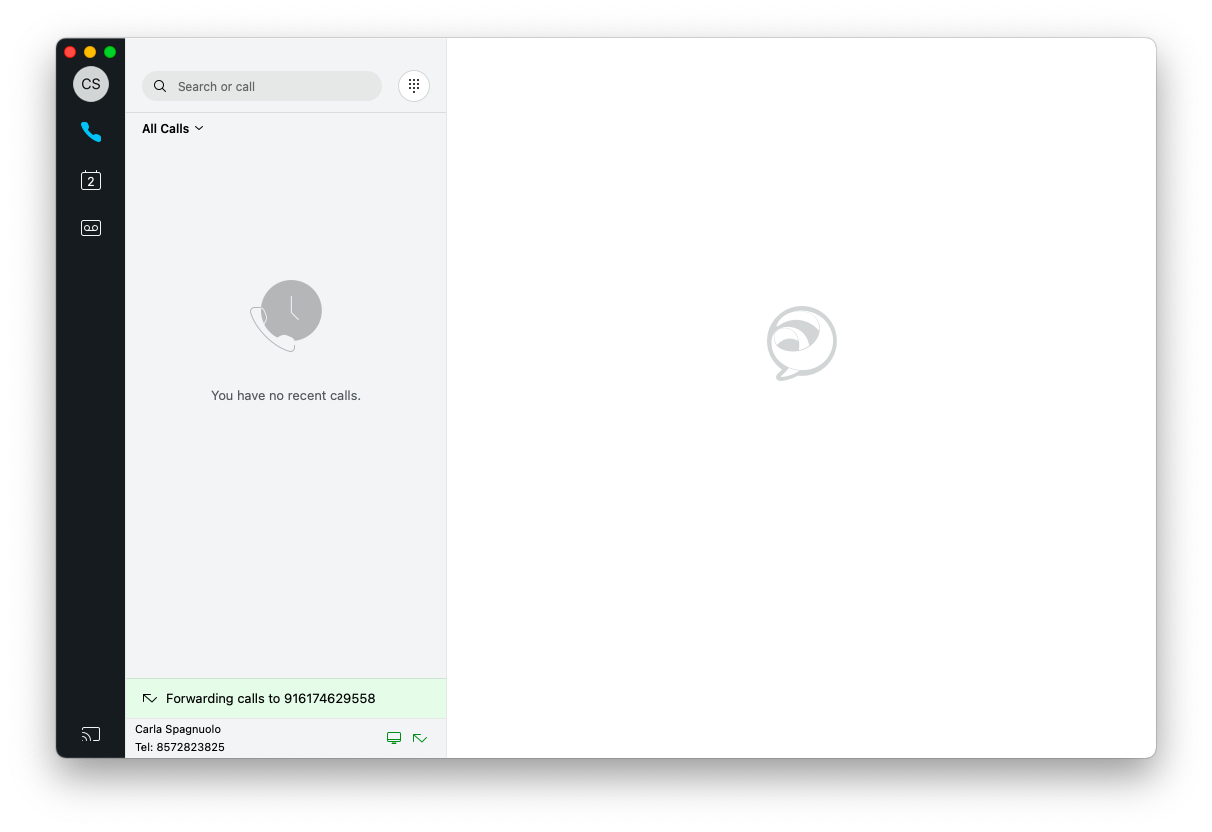
- Congratulations you have now installed Cisco Jabber!