May 26, 2026
Queuing system (Slurm)
Slurm (Simple Linux Universal Resource Manager) is a scheduler that allocates resources to the submitted job; therefore, all jobs on ERISXdl should be submitted through the SLURM scheduler system. For more information on using ERISXdl, see the Getting Started article.
Partitions
Slurm’s partitions are similar to ‘queues’ in other job schedulers like LSF on Scientific Computing (SciC) Linux Clusters. Each partition has its dedicated resources such as the number of nodes, run time, GPU, CPU, memory, etc.
To view the list of available partitions, execute the command:
$ sinfoA summary of the partitions
The Basic partition is a free tier for registered users only (cf. Application Procedure for the ERISXdl platform described here).
| Partition | GPU limit | Max time limit | Memory limit |
| Basic (Free tier) | 8 GPU | 10 min | 400G |
| Short | 8 GPU | 2 hour | 400G |
| Medium | 8 GPU | 1 day | 400G |
| Long | 8 GPU | 5 days | 400G |
| Mammoth | 8 GPU | 2 weeks | 400G |
* NOTE : i) Following further monitoring of job loads, a QOS (Quality of Service) will be introduced to implement suitable GPU and Memory Limits.
ii) For partitions which allow multinode jobs simply specify the total number of GPUs required, kubernetes/slurm will subsequently allocate the required number of nodes.
For additional info on a specific partition, execute command:
$ sinfo --long -p <partition_name>
There are several GPU nodes that accept jobs from all the partitions. The state of these 5 nodes dgx-[1-5] at any given time can be inspected with the following:
$ scontrol show nodes
Submitting jobs
Firstly, a bash script file is created containing #SBATCH values specifying resources for the Slurm batch job. Some typical settings are shown below:
| Job Name | #SBATCH --job-name=My-Job_Name |
| Wall time hours | #SBATCH --time=24:0:0 or -t[days-hh:min:sec] |
| Number of nodes | #SBATCH --nodes=1 |
| Number of proc per node | #SBATCH --ntasks-per-node=24 |
| Number of cores per task | #SBATCH --cpus-per-task=24 |
| Number of GPU | #SBATCH --gpus=3 |
| Send mail at end of the job | #SBATCH --mail-type=end |
| User's email address | #SBATCH --mail-user=@email |
| Working Directory | #SBATCH --workdir=dir-name |
| Job Restart | #SBATCH --requeue |
| Share Nodes | #SBATCH --shared |
| Dedicated nodes | #SBATCH --exclusive |
| Memory Size | #SBATCH --mem=[mem |M|G|T] or --mem-per-cpu |
| Account to Charge | #SBATCH --account=[account] (*Not required, unless you are associated with several accounts and need to specify one in particular*) |
| Partition | #SBATCH --partition=[name] |
| Quality of Service | #SBATCH --qos=[name] (*Not required and should be omitted*) |
| Job Arrays | #SBATCH --array=[array_spec] |
| Use specific resource | #SBATCH --constraint="XXX" |
Secondly, the Slurm batch job is submitted to the job scheduler with the following:
$ sbatch <path-to-script>
and where after submitting your jobs you can confirm the status of your job with
$ sacctor
$ squeue
View more verbose job status:
$ squeue -j <job_ID>
Check job in detail:
$ scontrol show job <job_ID>
Slurm Job status, code, and explanation
When you request status information of your job you can get one of the following:
|
COMPLETED |
CD |
The job has completed successfully. |
|
COMPLETING |
CG |
The job is finishing but some processes are still active. |
|
FAILED |
F |
The job terminated with a non-zero exit code and failed to execute. |
|
PENDING |
PD |
The job is waiting for resource allocation. It will eventually run. |
|
PREEMPTED |
PR |
The job was terminated because of preemption by another job. |
|
RUNNING |
R |
The job currently is allocated to a node and is running. |
|
SUSPENDED |
S |
A running job has been stopped with its cores released to other jobs. |
|
STOPPED |
ST |
A running job has been stopped with its cores retained. |
The job can be canceled or killed; execute the command:
$ scancel <jobID>
Common commands in Slurm vs. LSF
|
Slurm |
LSF |
Explanation |
|
sbatch |
bsub |
Submit job |
|
sinfo |
bqueues |
List queues |
|
spart <partition_name> |
bqueues -l <queue name> |
View queue in details |
|
squeue |
bjobs -u all |
List all jobs status |
|
scontrol show job <jobid> |
bjobs -l <jobID> |
Check job in details |
|
scancel |
bkill |
Cancel or kill job |
FairShare Job Scheduling
Jobs submitted to the Slurm scheduler will be queued according to a FairShare algorithm (with further insight described here). Users can examine their current FairShare score using
sshare -u <userID> -land for a comparative overview of all users
sshare -a -lGPU charges
Each requested GPU incurs a charge of $0.01 (as of Nov 1st 2023) per min for the duration of the Slurm job. In order for users to keep abreast of accrued fees a simple accounting command called charges has been made available on the ERISXdl login nodes (erisxdl1, erisxdl2 and erisxdl3) and which can be used in two ways:
Summary of user fees accrued for the current month:
charges -u Summary of group fees accrued for the current month:
charges -g
Eventually, the command will be extended to allow for the specification of a duration.
Example SLURM Job Submissions
From June 9th 2025 and following the loss of the erisxdl front end (i.e. the login nodes erisxdl[1-3]) the below examples are now deprecated, instead users can submit slurm jobs using Apptainer as demonstrated here. Users should note that when running Apptainer sif images the option "--nv" should be used to ensure the resulting container is aware of the gpus on the host compute node.
Updated documentation will be made available in due course.
In order to run a computational job with a container users submit a job script to the SLURM job scheduler. When submitting jobs that use containers the user will need to specify both the registry location of the image and the code that should be run within the container. Keep in mind that any locally stored containers on the cluster obtained from using podman pull will not be accessible to the GPU-nodes. All containers must be available on the Harbor registry.
For more information on containers and using Podman on ERISXdl, see the Using Docker Containers article.
In the below we examine several examples of Slurm jobs deploying container images and where for convenience the corresponding case folders have been made available at
/data/erisxdl/publicERISXdlDemoCases
One point to highlight is that in Podman you are root user and should aim to install any software in directories that are accessible to all users and services within that container. By this means when you run a Kubernetes/Slurm job with the container, and in which you are now a user, you will have access to the installed software. (For security reasons we don't wish to have users with root authority running jobs on the compute nodes).
Example 1: Using a customized image in a Slurm job
In the following example a customized CUDA image is deployed in a Slurm job that is submitted to the Basic partition. Customization of a base CUDA image obtained from the NGC catalog is described in "EXAMPLE 3: RUNNING AND CUSTOMIZING CONTAINERS" at Using Docker Containers with Podman on ERISXdl. For convenience, the resultling image has been pushed to the library folder of the Harbor registry.
In the below the jobScriptBasicP.shwill first specify Slurm resources, for example 1 GPU in this case, and then invoke a wrapper script to create a Kubernetes pod for the customized image. Once the pod is successfully initialized it will run the script example_script.sh within this container environment.
As a preliminary, please copy the example case to a suitable location e.g.
cp -r /data/erisxdl/publicERISXdlDemoCases/case1-GPU $HOME
and where the example folder case1-GPU contains the job script file jobScriptBasicP.sh whose contents are the following:
#!/bin/bash

#SBATCH --partition=Basic
#SBATCH --job-name=exampleCase1
#SBATCH --gpus=1
#SBATCH --ntasks=1
#SBATCH --time=00:10:00
#SBATCH --mem=8G
#SBATCH --output=log.%j
#SBATCH --error=logErrors.%j

## This is a comment

## %j is the id for this job

## Set the docker container image to be used in the job runtime.
export KUBE_IMAGE=erisxdl.partners.org/library/cuda:latestWtestProgs

## Set the script to be run within the specified container - this MUST be a separate script
export KUBE_SCRIPT=$SLURM_SUBMIT_DIR/example-script.sh

## Ensure example-script.sh is executable
chmod a+x  $SLURM_SUBMIT_DIR/example-script.sh

# Define group briefcase (this will provide the GID for the user at runtime)
export KUBE_DATA_VOLUME=/data/<your group's briefcase folder>

# Users can also set the following variable to change the timeout in seconds. It’s 600 by default, but might be useful to change for testing.
export KUBE_INIT_TIMEOUT=300

## Required wrapper script. This must be included at the end of the job submission script.
## This wrapper script mounts /data, and your /PHShome directory into the container
##
srun  /data/erisxdl/kube-slurm/wrappers/kube-slurm-custom-image-job.sh
Please note that you will need to specify your group's briefcase folder for KUBE_DATA_VOLUME since this information is used to determine the runtime GID (group id) for the user. This is essential if you wish to access briefcase data in a job. In the final step above, the wrapper script kube-slurm-custom-image-job.sh initializes the Kubernetes pod for the image specified in KUBE_IMAGE and mounts both the user's home and group briefcase directories into the resulting container. Once this is completed the script $SLURM_SUBMIT_DIR/example-script.sh is executed and where its contents are the following:
#!/bin/bash

# Full path name to the location of folder "cudaTestPrograms".
# Please modify the path accordingly:
cd ~/case1-GPU/cudaTestPrograms


echo "*** Test program compilation ***"
nvcc vector_add_grid.cu -o vector_add_grid

which vector_add_grid

echo "*** Test program iteration: start***"

# Loop a number of times
for i in {1..50}
do
   echo "Iteration $i"
   ./vector_add_grid
done

echo "*** Test program iteration: end***"
and, basically, compiles the program vector_add_grid.cu with the container's nvcc compiler before executing the binary in a loop 50 times. As noted above, please ensure the following path is modified appropriately:
~/case1-GPU/cudaTestPrograms
Finally, the job is submitted from the login nodes using:
$ sbatch jobScriptBasicP.sh
Example 2: Running a JupyterHub session from a Slurm batch job
In this example a minimal image for running JupyterHub is deployed in a Slurm job that is submitted to the Basic partition. The JupyterHub service is then accessed via a job-specific https address that is written to the log file for the job. The JupyterHub service is subsequently available for the duration of the job which is 10mins in the case of the Basic partition.
In the below, the jobscript jobScriptJupyterHubBasicP.sh will first specify Slurm resources, for example 1 GPU in this case, and then invoke a wrapper script which will create a Kubernetes pod for the minimal Jupyter image and then, crucially, an ingress to that pod. This ingress will be tokenized so that the resulting https address for the JupyterHub service is made specific to the user's Slurm job.
As a preliminary, please copy the example case to a suitable location e.g.
cp -r /data/erisxdl/publicERISXdlDemoCases/case2-JupyterHub-GPU $HOME
and where the example folder case2-JupyterHub-GPU contains the job script file jobScriptJupyterHubBasicP.sh whose contents are the following:
#!/bin/bash
#SBATCH --partition=Basic
#SBATCH --job-name=jupyterHubDemo
#SBATCH --gpus=1
#SBATCH --ntasks=1
#SBATCH --time=00:10:00
#SBATCH --mem=8G
#SBATCH --output=log.%j
#SBATCH --error=logErrors.%j
# Base image
export KUBE_IMAGE=erisxdl.partners.org/library/jupyter-minimal-notebook:2023-03-03
# Briefcase path
export KUBE_DATA_VOLUME=/data/<your group's briefcase folder>
# Invoke the Job
srun /data/erisxdl/kube-slurm/wrappers/kube-slurm-jupyter-job.sh
Please note that you will need to specify your group's briefcase folder in KUBE_DATA_VOLUME since this information is used to determine the runtime GID (group id) for the user. This is essential if you wish to access briefcase data in a job. In the final step above, the wrapper script kube-slurm-jupyter-job.sh initializes the Kubernetes pod for the image specified in KUBE_IMAGE and then mounts both the user's home and group briefcase directories into the resulting container. Subsequently, these will be available to the user in their Jupyter Hub session.
Finally, the job is submitted from the login nodes using:
$ sbatch jobScriptJupyterHubBasicP.shThe customized https address for the JupyterHub session is written to the log file and will look similar to the following:
########################################################
Your Jupyter Notebook URL will be: https://erisxdl.partners.org/jupyter/slurm-job-40592?token=980c481b4ce7a73c3ca6843cdb13c296f1450b4e1a4e3430
########################################################
and where after copy-pasting into a modern web browser you should see something similar to the following:
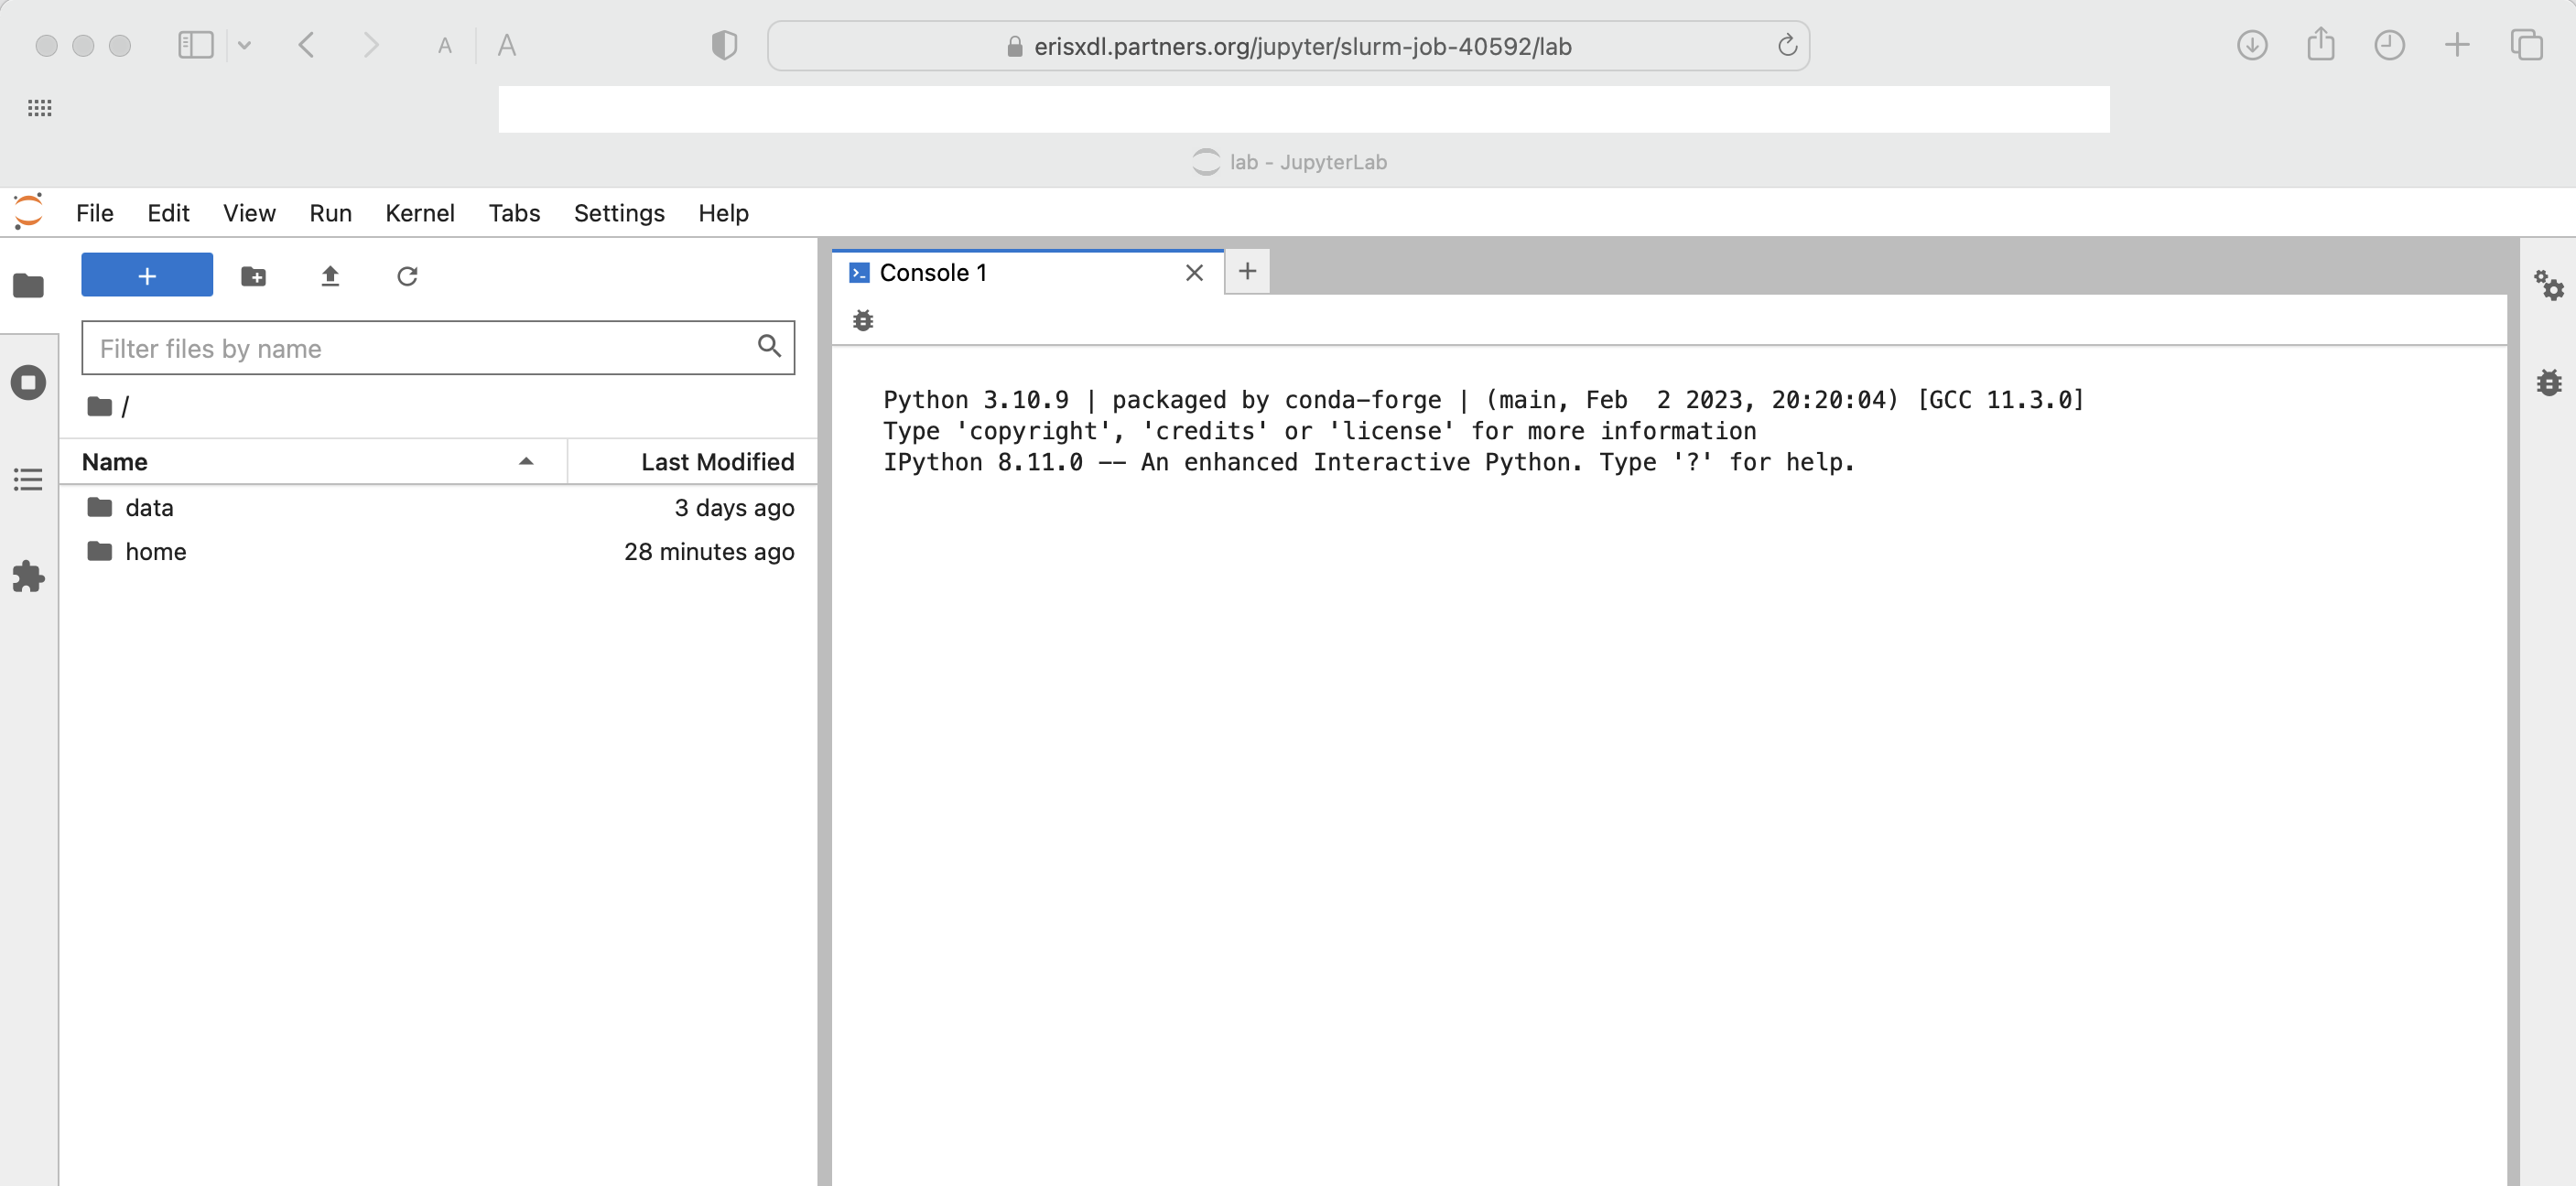
The same workflow applies for Jupyter images with more elaborate kernels and which can be customized with reference to Using Docker Containers with Podman on ERISXdl.
Example 3: Running a CryoSPARC session from a Slurm batch job
CryoSPARC is a popular software platform used in cryo-electron microscopy that we have recently managed to operate in a containerized environment. Similarly to the JupyterHub example, a CUDA image is deployed in a Slurm job so that the CryoSPARC service running in the container is then accessed via a customized https address written to the job's log file. This service is subsequently available for the duration of the job.
There are a few preliminaries before running CryoSPARC sessions on ERISXdl:
1. Obtain an academic license from Cryo-EM.
2. Create the CryoSPARC folder in your home directory
mkdir $HOME/cryosparc
confirm you have sufficient storage (at least 5GB) in your home directory by using
/usr/local/bin/pan_quota $HOME
cf. https://rc.partners.org/kb/article/1571 and then download the latest version of the software to $HOME/cryosparc from Cryo-EM. There is no need to unpack the tar'd files at this stage, these will be decompressed by the installation script in step 4.
Alternatively, version 4.1.1 can be obtained from a local repository on ERISXdl and copied with
cp /data/erisxdl/publicERISXdlDemoCases/cryosparc-v4.1.1/* $HOME/cryosparc
3. Installation: this step requires the user to submit a slurm job. Firstly, copy the template case to a suitable location e.g.
cp -r /data/erisxdl/publicERISXdlDemoCases/case3-cryosparcInstall-GPU $HOME
subsequently, rename the file mybashrcCryosparcInstall in the following way:
mv mybashrcCryosparcInstall mybashrcCryosparcInstall-<your userID>
and edit the following entries in mybashrcCryosparc-<your userID>:
export LICENSE_ID="<your License ID>"
(a reference is given by mybashrcCryosparcInstall-rk398). Additionally, edit the script file installCryosparc.sh to include the email address and full name used in the registration for the cryoSparc license i.e.
./install.sh    --standalone \
                --hostname cryosparc-host  \
                --license $LICENSE_ID \
                --worker_path  ~/cryosparc/cryosparc_worker \
                --cudapath /usr/local/cuda \
                --nossd  \
                --initial_email "<email address>" \
                --initial_password "<userID>" \
                --initial_username "<userID>" \
                --initial_firstname "Forename" \
                --initial_lastname "Family-Name" \
                --port 39000  \
                --yes
Finally, submit a batch job to install CryoSPARC in the environment of the compute nodes. A sample script to do this is given in jobScriptCryoSparcInstall-MediumP.sh and whose contents are the following:
#!/bin/bash

#SBATCH --partition=Medium
#SBATCH --job-name=cryosparcInstallation
#SBATCH --gpus=1
#SBATCH --ntasks=1
#SBATCH --time=8:00:00
#SBATCH --mem-per-cpu=8G
#SBATCH --output=log.%j
#SBATCH --error=logErrors.%j

export KUBE_IMAGE=erisxdl.partners.org/library/usewith-cryosparc:v421
# Set the script to be run within the specified container.
KUBE_SCRIPT1=$SLURM_SUBMIT_DIR/installCryosparc.sh

# Ensure script is executable
chmod a+x  $SLURM_SUBMIT_DIR/installCryosparc.sh

# Remove the home directory component
export KUBE_SCRIPT=$(echo $KUBE_SCRIPT1 | cut -d'/' -f4-)
echo "KUBE_SCRIPT: ${KUBE_SCRIPT}"

# Define briefcase to capture correct gid.
export KUBE_DATA_VOLUME=/data/<your group's briefcase folder>

# Users can also set the following variable to change the timeout in seconds.
# It’s 600 by default, but might be useful to change for testing.
export KUBE_INIT_TIMEOUT=600

# Invoke the Job
srun  /data/erisxdl/kube-slurm/wrappers/kube-slurm-cryosparcInstall-job.sh
Finally, the job is submitted from the login nodes using:
$ sbatch jobScriptCryoSparcInstall-MediumP.shIf all is well the job should take approximately 20 minutes to run. Lastly, at line 933 of ~/cryosparc/cryosparc_master/bin/cryosparcm we ensure a diskspace check is not applied owing to erroneous information generated by df -h inside the container:
disk_has_space=true
Running a CryoSPARC session:
i) Copy a reference case to a suitable location e.g.
cp -r /data/erisxdl/publicERISXdlDemoCases/case4-cryosparc-GPU $HOME
subsequently, rename the file mybashrcCryosparc in the following way:
mv mybashrcCryosparc mybashrcCryosparc-<your userID>
and edit the following entries in mybashrcCryosparc-<your userID>:
export LICENSE_ID="<your License ID>"
export PATH=/home/<your userID>/cryosparc/cryosparc_master/bin:$PATH
(a reference is given by mybashrcCryosparc-rk398).
ii) Submit a slurm job:
sbatch jobScriptCryoSparcBasicP.shand where the jobscript jobScriptCryoSparcBasicP.sh will first specify Slurm resources, for example 2 GPUs in this case, after which a wrapper script will be invoked that creates a Kubernetes pod for the customized image. An ingress to this pod and the spawned CryoSPARC service is made available by means of a customized https address that is written to the job log file. For reference, the contents of jobScriptCryoSparcBasicP.sh are the following:
#!/bin/bash
#SBATCH --partition=Basic
#SBATCH --job-name=cryosparcJob
#SBATCH --gpus=2
#SBATCH --ntasks=1
#SBATCH --time=00:10:00
#SBATCH --mem=8G
#SBATCH --output=log.%j
#SBATCH --error=logErrors.%j

export KUBE_IMAGE=erisxdl.partners.org/library/usewith-cryosparc:v421

export KUBE_DATA_VOLUME=/data/<your group's briefcase folder>

# Insert number of GPUs into mybashrcCryosparc before the cryosparc LICENSE ID
cp $SLURM_SUBMIT_DIR/mybashrcCryosparc-${USER}  mybashrcCryosparc
sed -i  "/.*LICENSE_ID.*/a export nGPUs=$SLURM_GPUS" mybashrcCryosparc

# Initialize ~/.bashrc with mybashrcCryosparc, container/bash-shell should subsequently
# startup cryosparc.
cp $SLURM_SUBMIT_DIR/mybashrcCryosparc  $HOME/mybashrcCryosparc

# Invoke the wrapper script
srun /data/erisxdl/kube-slurm/wrappers/kube-slurm-cryosparc-job.sh
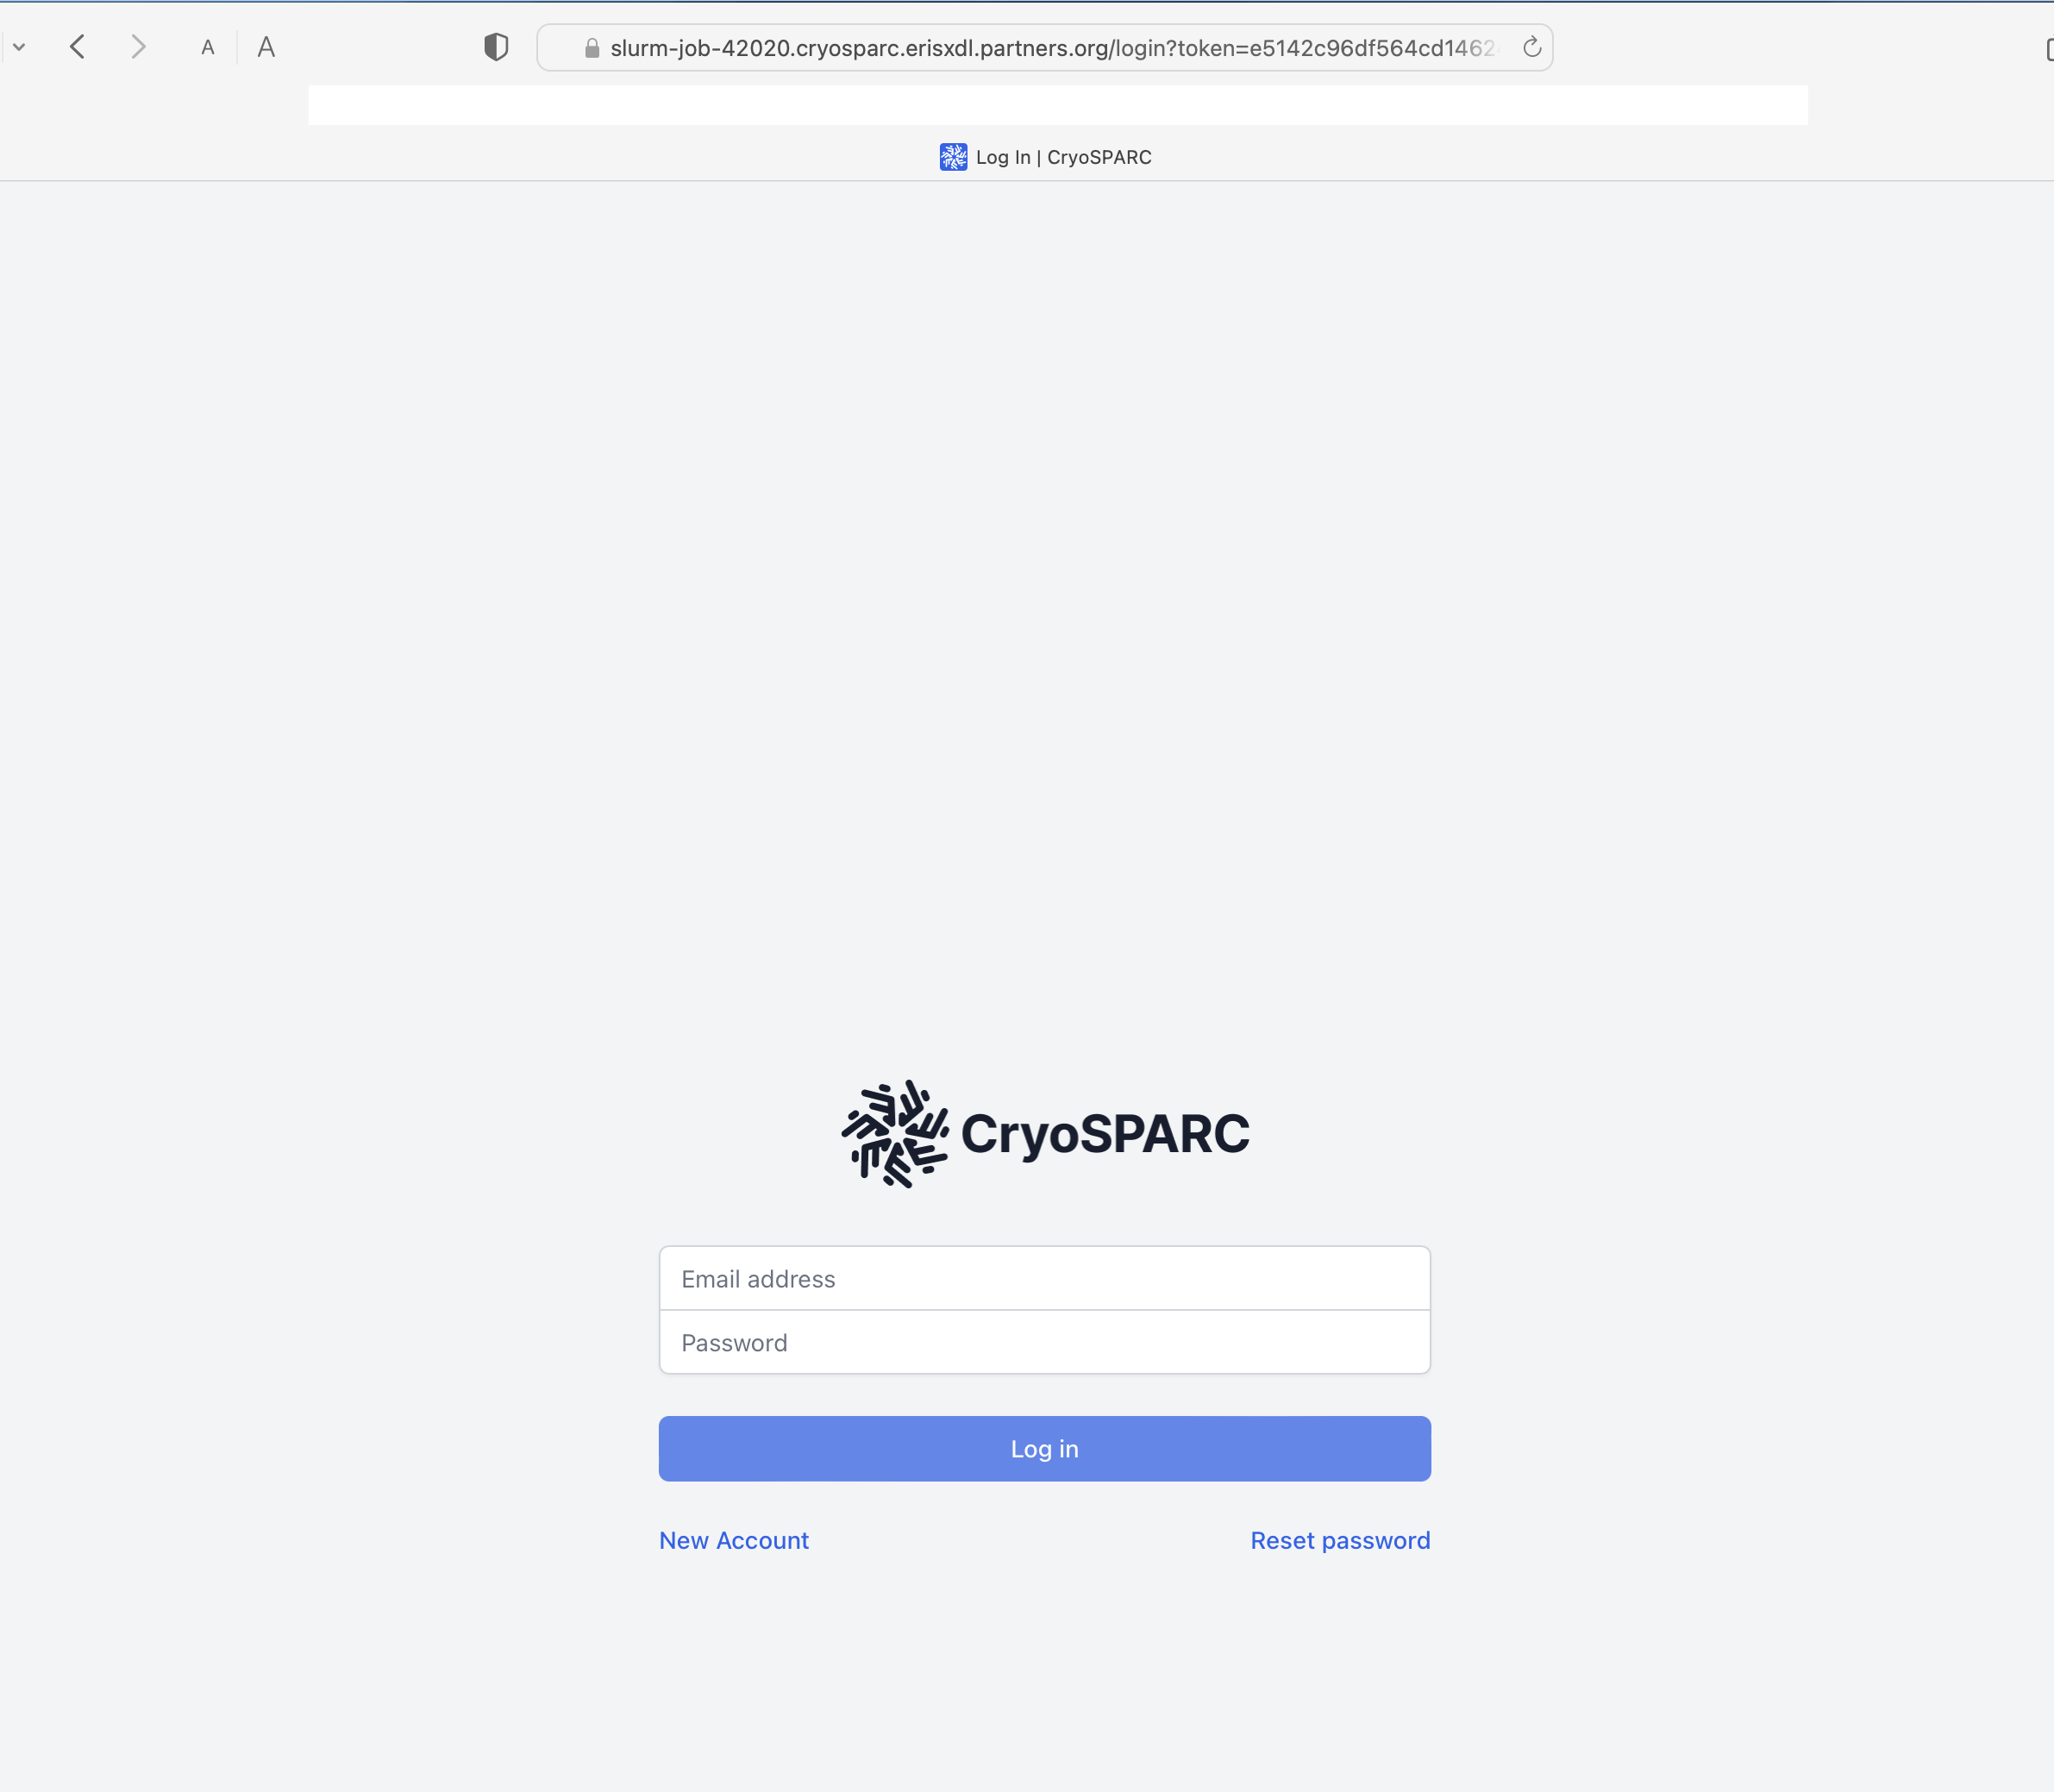
Please note that you will need to specify your group's briefcase folder in KUBE_DATA_VOLUME since this information is used to determine the runtime GID (group id) for the user. This is essential if you wish to access briefcase data in a job. In the final step above, the wrapper script kube-slurm-cryosparc-job.shinitializes the Kubernetes pod for the image specified in KUBE_IMAGE and then mounts both the user's home and group briefcase directories into the resulting container. Subsequently, these will be available to the user in their CryoSPARC session. The customized https address for the CryoSPARC session is written to the log file and will look similar to the following:
########################################################
Your cryosparc session URL will be: https://slurm-job-40418.cryosparc.erisxdl.partners.org?token=daf25d976fbf686eef66457e90de26a8ba17396a8520e399
########################################################
Generally-speaking it takes approximately 3-5 minutes for the CryoSPARC service to start up. The user subsequently logs into their CryoSPARC web session using their registered email address and with a password corresponding to their <userID>. A typical CryoSPARC 'welcome screen' is shown below:
For reference, when the job is submitted the following file will be created:
mybashrcCryosparc
with a copy made at $HOME/mybashCryosparc. This file will start up the CryoSPARC service in the container and additionally will contain a setting for the number of GPUs requested for this Slurm job. Subsequently, the CryoSPARC job lane will be provisioned with the corresponding number of GPUs.
Example 4: Running an RStudio/gpu session from a Slurm batch job
In this example an RStudio image based on https://hub.docker.com/r/rocker/cuda/tags is deployed in a Slurm job that is submitted to the Short partition. The RStudio service is then accessed via a job-specific https address that is written to the log file for the job. The RStudio service [version 2023.09.0+463 (Desert Sunflower) for Ubuntu Jammy] is subsequently available for the duration of the job.
In the below, the jobscript jobScriptRStudioShortP.sh will first specify Slurm resources, for example 1 GPU in this case, and then invoke a wrapper script which will create a Kubernetes pod for the RStudio image and then, crucially, an ingress to that pod. This ingress will be tokenized so that the resulting https address for the RStudio service is made specific to the user's Slurm job.
As a preliminary, however, it will be necessary to first create a local user on the image whose uid and gid correspond to those on the ERIS cluster. Here are the steps
# Obtain user's uid and gid (associated with group briefcase) on the ERIS cluster

id -u
# gives
<your-ERIS-cluster-UID>

ls -al  /data/<my group's briefcase>
cat /etc/group | grep groupName
# gives
<your-ERIS-cluster-GID>

# Pull the base image for rstudio-v4x
podman pull erisxdl.partners.org/library/rocker-cuda-erisxdl:4.4v7

# Run the image
podman run -it erisxdl.partners.org/library/rocker/cuda:rstudio-v4x-28

# Create a new local group with same name and gid as the user's group on the cluster
groupadd -g <your-ERIS-cluster-group-GID>  <your-ERIS-cluster-group-name>

# Create a new local user with same name, uid and gid as the user's account on the cluster
useradd  -u  <your-ERIS-cluster-UID>  -g <your-ERIS-cluster-group-GID> <your-ERIS-cluster-name>

e.g.

groupadd  -g 10066 pinello
useradd -u 5249227 -g 10066  rk398

# Quit the container with CTL-D or "quit"

# List recent containers
podman ps -a

# Commit the latest container, e.g. c0a138ab9e9d, to a new image
podman commit c0a138ab9e9d  erisxdl.partners.org/<PAS Group Name in lowercase>/rocker-cuda-erisxdl:4.4v8

# Push the new image to your group account on Harbor
podman push erisxdl.partners.org/<PAS Group Name in lowercase>/rocker-cuda-erisxdl:4.4v8
For running the test case, please copy the example case to a suitable location e.g.
cp -r /data/erisxdl/publicERISXdlDemoCases/case8-RStudio-GPU $HOME
and where the example folder case8-RStudio-GPU contains the job script file jobScriptRStudioShortP.sh whose contents should be the following:
#!/bin/bash

#SBATCH --partition=Short
#SBATCH --job-name=rstudioDemo
#SBATCH --gpus=1
#SBATCH --ntasks=1
#SBATCH --time=02:00:00
#SBATCH --mem=30G
#SBATCH --output=log.%j
#SBATCH --error=logErrors.%j

# Ensure you use the image created above
export KUBE_IMAGE=erisxdl.partners.org/<PAS Group Name in lowercase>/rocker-cuda-erisxdl:4.4v8

# Briefcase path
export KUBE_DATA_VOLUME=/data/<your group's briefcase folder>

# Invoke the Job
srun /data/erisxdl/kube-slurm/wrappers/kube-slurm-rstudio-job.sh
Finally, the job is submitted from the login nodes using:
$ sbatch jobScriptRStudioShortP.sh
Please note that you will need to specify your group's briefcase folder in KUBE_DATA_VOLUME since this information is used to determine the runtime GID (group id) for the user. This is essential if you wish to access briefcase data in a job. In the final step above, the wrapper script kube-slurm-rstudio-job.sh initializes the Kubernetes pod for the image specified in KUBE_IMAGE and then mounts both the user's home and group briefcase directories into the resulting container. Subsequently, these will be available to the user in their RStudio session. The customized https address for the RStudio session is written to the log file and will look similar to the following:
########################################################
Your rstudio session URL will be: https://rstudio.erisxdl.partners.org?token=ee8bca263e30565214a5b327c3e5533ba66c3748758a1461
########################################################